 Save
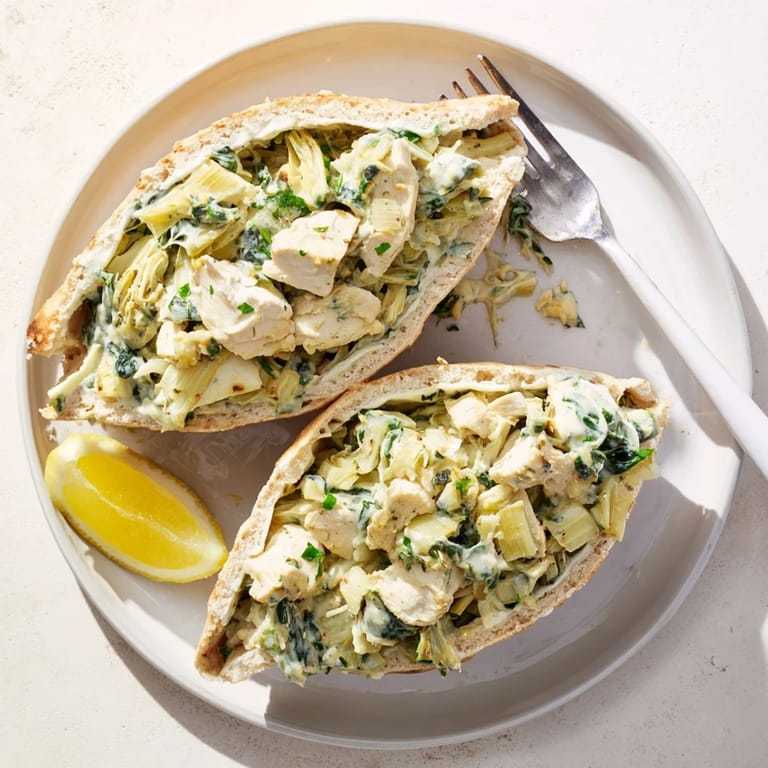
Save The first time I made these stuffed pitas, my kitchen smelled like garlic and warm bread in the best way possible. I was actually trying to use up leftover chicken from a Sunday roast, and now this has become one of those recipes I keep making on purpose. Theres something so satisfying about tucking that creamy spinach filling into a soft pita pocket.
I brought these to a friends patio dinner last spring, and everyone kept asking what was in the filling. It was that perfect evening where we sat around too long, eating seconds and talking about nothing important. Now whenever I smell artichokes and garlic cooking together, Im back at that table.
Ingredients
- 2 cups cooked chicken breast: Rotisserie chicken works beautifully here and saves you a step, plus the seasoning adds depth
- 1 cup canned artichoke hearts: Drain them well and give them a rough chop so you get nice chunks throughout the filling
- 1 cup fresh spinach: Chop it finely so it distributes evenly instead of clumping together
- 1/2 cup Greek yogurt: This is what makes the filling creamy without being too heavy
- 1/4 cup light mayonnaise: Just enough to bind everything together and add that familiar creaminess
- 1/2 cup shredded mozzarella cheese: Use freshly shredded if you can, it melts so much better
- 1/4 cup grated Parmesan cheese: Adds that salty, nutty depth that rounds out the filling
- 1 clove garlic, minced: Fresh garlic is nonnegotiable here, it makes the whole filling come alive
- 1/2 teaspoon onion powder: A subtle backdrop flavor that makes everything taste more complete
- 1/2 teaspoon dried oregano: Gives you that Mediterranean note without needing fresh herbs
- 1/4 teaspoon crushed red pepper flakes: Optional, but I love the tiny kick of heat it adds
- Salt and black pepper: Taste as you go, since the Parmesan is already salty
- 4 large pita breads: Whole wheat adds nice flavor, but regular works perfectly too
- Fresh parsley and lemon wedges: These are optional but they make everything taste brighter and fresher
Tired of Takeout? 🥡
Get 10 meals you can make faster than delivery arrives. Seriously.
One email. No spam. Unsubscribe anytime.
Instructions
- Preheat your oven:
- Get it to 375°F so youre ready to bake as soon as the pitas are stuffed
- Mix the filling:
- Combine everything except the pitas in a large bowl until its well blended, and dont be afraid to get your hands in there to really mix it
- Prep the pitas:
- Carefully slice each pita in half to make pockets, working slowly so you dont tear through the bottom
- Stuff them generously:
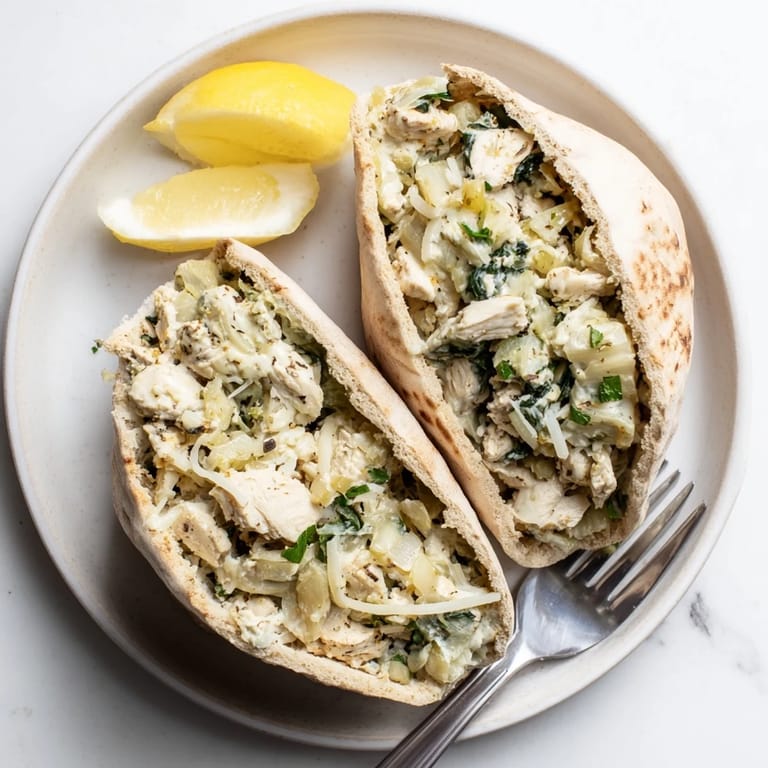
- Fill each pita half as full as you can without splitting the sides, using a spoon to gently pack the filling in
- Arrange for baking:
- Lay them on a parchmentlined baking sheet, leaving a little space between each so the heat can circulate
- Bake until golden:
- Let them go for 15 to 20 minutes until the filling is hot throughout and the cheese has melted into everything
- Finish and serve:
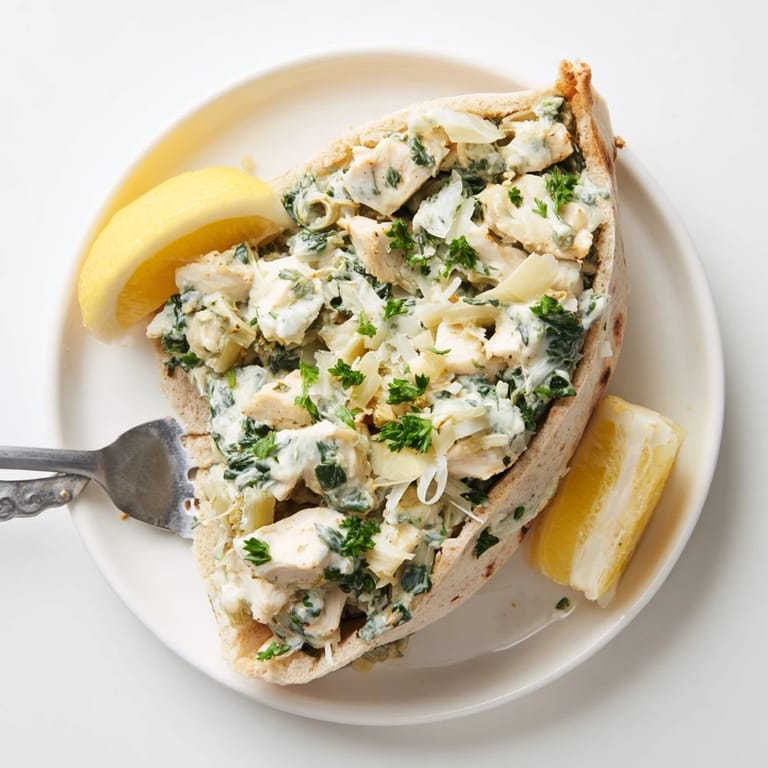
- Sprinkle with fresh parsley and serve with lemon wedges for squeezing over the top
 Save
Save My teenage son, who usually claims to hate artichokes, ate three of these in one sitting. Sometimes the best recipes are the ones that surprise you like that.
Make It Your Own
Ive learned that swapping the Greek yogurt for cream cheese makes an even richer filling, perfect for when you want something more indulgent. Sun-dried tomatoes or roasted red peppers add gorgeous color and a sweet note that balances the savory elements.
Serving Suggestions
A crisp green salad with a simple vinaigrette cuts through the creaminess beautifully. I also love serving these with roasted vegetables on the side, especially when I want to turn them into a more substantial dinner.
Storage and Reheating
These keep well in the refrigerator for up to three days, though the pita does soften slightly over time. When reheating, the oven at 350°F for about 10 minutes brings back that freshly baked texture better than the microwave ever could.
- Wrap individually in foil before freezing if you want to meal prep these
- Let frozen pitas thaw overnight in the refrigerator before reheating
- A quick toast in a dry skillet after reheating helps recrisp the exterior
 Save
Save These stuffed pitas have become one of those meals I can throw together almost without thinking, but they never feel like a compromise.
Recipe FAQs
- → Can I make these ahead of time?
Yes, prepare the filling up to 24 hours in advance and store it in the refrigerator. Stuff and bake the pitas just before serving for the best texture and freshness.
- → What type of chicken works best?
Rotisserie chicken adds excellent flavor, but any cooked chicken breast works well. Dice or shred it into bite-sized pieces for easy stuffing into the pita pockets.
- → Can I freeze these stuffed pitas?
Freeze unbaked stuffed pitas wrapped individually in plastic and foil. Bake from frozen at 375°F for 25-30 minutes, covering with foil if the bread browns too quickly.
- → How do I prevent the pitas from getting soggy?
Drain the artichoke hearts thoroughly and squeeze excess moisture from the spinach. Bake the stuffed pitas immediately after filling to maintain the bread's texture.
- → What can I serve with these pitas?
A crisp green salad with vinaigrette balances the richness perfectly. Roasted vegetables, soup, or Mediterranean sides like hummus and olives also complement the flavors well.