 Save
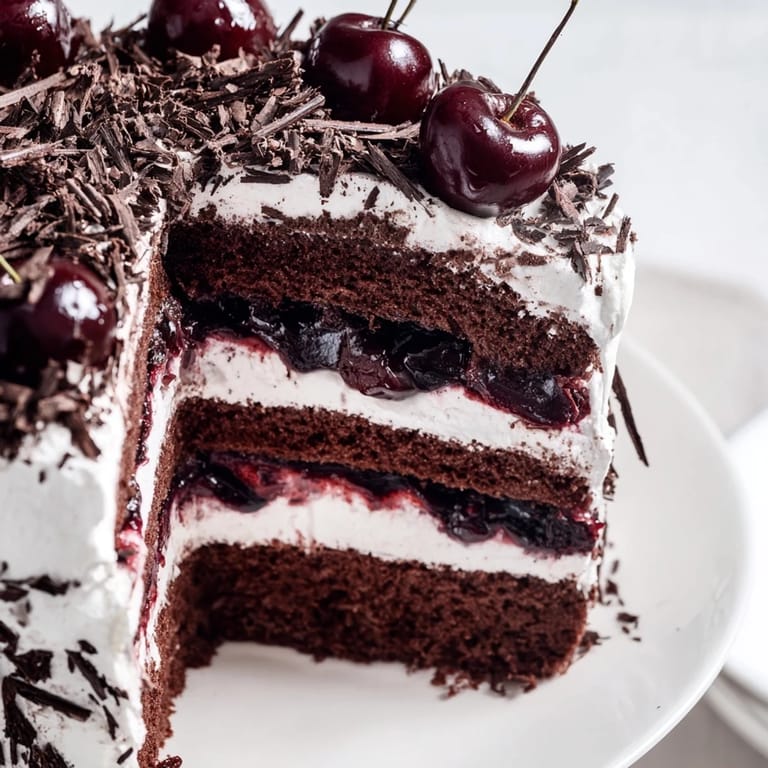
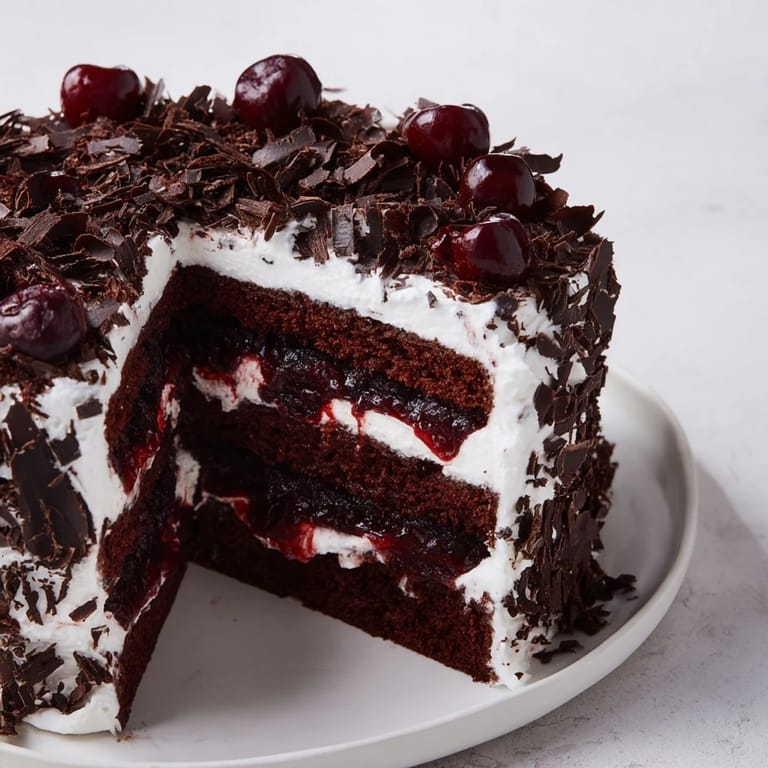
Save The first time I truly understood Black Forest Cake was in a tiny café in Stuttgart, watching a baker arrange chocolate shavings with the precision of someone placing jewels. What struck me wasn't the elegance—it was how she moved between the layers with such quiet confidence, knowing exactly where each cherry belonged. I've since made this cake dozens of times, and each time I'm reminded that this isn't just chocolate and fruit; it's a moment of deliberate care wrapped in cocoa and cream.
I made this for my partner's birthday on a snowy January afternoon, and the whole kitchen smelled like a chocolate factory by the time those layers came together. He walked in while I was adding the final chocolate shavings and just stood there quiet, which for him meant everything. That cake became the reason we now make it every winter without needing to say why.
Ingredients
- All-purpose flour: Keep it to 1 cup exactly; too much makes the cake dense, defeating the whole airy point.
- Unsweetened cocoa powder: The real deal matters here—Dutch-process gives deeper color, but natural works fine if that's what you have.
- Boiling water: This is the secret to moist chocolate cake; it blooms the cocoa and keeps everything tender.
- Dark sweet cherries: Fresh in season are stunning, but jarred cherries work beautifully too—don't feel like you have to chase fresh.
- Kirsch: Optional but worth trying once; it adds a subtle almond-like complexity that makes people ask what's different.
- Heavy whipping cream: Cold from the start, and make sure your bowl and beaters are cold too.
- Dark chocolate for shavings: A vegetable peeler does the work better than fancy tools; let it soften slightly at room temperature first.
Tired of Takeout? 🥡
Get 10 meals you can make faster than delivery arrives. Seriously.
One email. No spam. Unsubscribe anytime.
Instructions
- Prep your pans like you mean it:
- Grease thoroughly, line with parchment, then grease the parchment too. This prevents any sneaky sticking when you're trying to impress someone.
- Sift the dry ingredients:
- Don't skip this step even though it feels fussy; it aerates the flour and prevents lumps that hide in chocolate cakes.
- Mix wet into dry until just smooth:
- The batter should look almost like chocolate soup once you add the boiling water—trust that it's supposed to be thin.
- Bake until a toothpick comes out clean:
- Start checking at 30 minutes; ovens vary, and a dry chocolate cake is a wasted opportunity. Cool in the pans first, then turn out onto racks.
- Make the cherry filling while cakes cool:
- The cornstarch mixture thickens everything into glossy jewel-toned filling; let it cool completely so it doesn't melt the cream layers.
- Whip cream to stiff peaks:
- This takes longer than you think on medium speed, faster on high—watch for the moment it goes from fluffy to stable.
- Slice each layer horizontally:
- A serrated knife and a gentle sawing motion work better than trying to cut straight down; rotate the cake as you go.
- Build each layer with intention:
- Brush cake with syrup first so it absorbs, then cherry filling, then cream—this rhythm matters for even distribution.
- Frost and decorate while still in the kitchen:
- Apply chocolate shavings gently so they stick to the cream; chill the whole thing so flavors meld before serving.
 Save
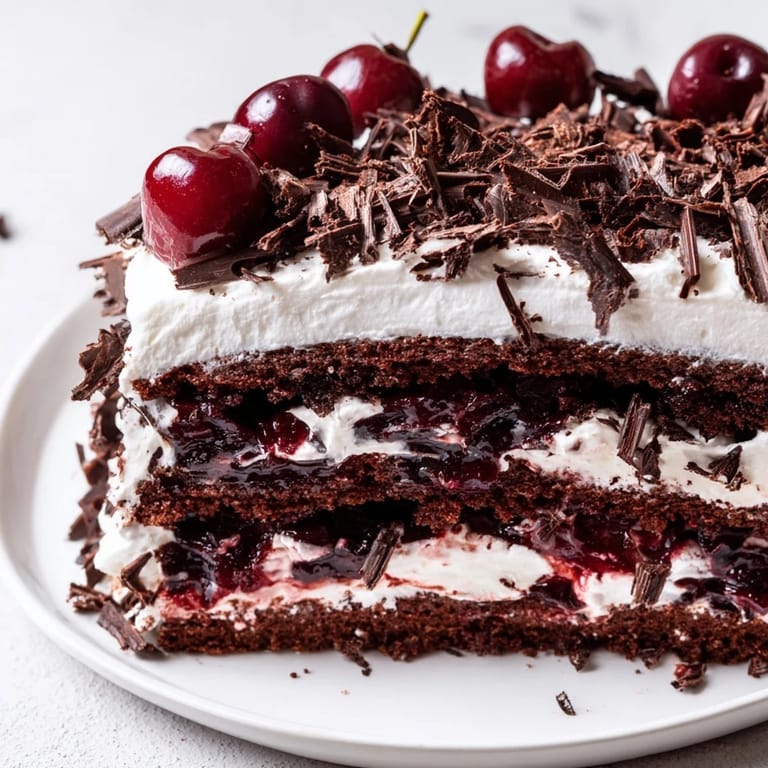
Save There's a moment when you finish the top layer of cream and step back to look at what you've built—all those cherries peeking through like hidden promises, the chocolate shavings catching light. That moment is when the cake stops being a task and becomes a small edible masterpiece sitting on your counter.
The Chocolate Matters More Than You Think
I once made this cake with leftover baking chocolate from a failed experiment, and it tasted fine but felt flat somehow. The next time I used proper dark chocolate, the difference was immediate—richer, more complex, almost alive. Since then I keep good chocolate on hand specifically for shavings, because those final touches are what people actually taste first.
Cherry Syrup Is Your Secret Weapon
The syrup brushed between layers does something magic; it keeps cake moist while adding subtle sweetness and depth. I've learned to never skip this step even when I'm tired or rushing, because it's the difference between a good cake and one that lingers on your palate. Fresh cherry juice works better than corn syrup, but use what you have—the intention is what counts.
Assembly Tips and Timing
This cake actually improves if you make it the day before serving; the flavors settle into each other and the layers set properly. I used to worry about it drying out, but the cream and syrup keep everything supple. The only real rush is decorating within an hour or two of serving, so the chocolate shavings stay crisp instead of softening.
- Keep everything cold—chilled plates, cold hands, even a cold spatula makes frosting easier and cleaner.
- If you're nervous about layer splitting, freeze the baked cakes overnight and slice them the next day when they're firm.
- Make the whipped cream fresh the day you serve it; homemade cream starts weeping after about six hours, though it still tastes good.
 Save
Save This cake is proof that patience and good ingredients create something worth the wait. Serve it cold, watch people's faces, and know you've just made something that matters.
Recipe FAQs
- → What type of cherries work best for the filling?
Pitted dark sweet cherries, either fresh or jarred and drained, provide the ideal balance of sweetness and tartness for the filling.
- → How do I ensure the chocolate cake layers are moist?
Incorporating boiling water into the batter and using oil helps keep the cake layers tender and moist when baked.
- → Can I make the cherry filling without alcohol?
Yes, simply omit the kirsch and increase the cherry syrup amount for similar flavor without alcohol content.
- → What’s the best way to achieve stiff peaks with the whipped cream?
Chill the cream and mixing bowl before beating on high speed with powdered sugar and vanilla until firm peaks form.
- → How long should the assembled dessert chill before serving?
Allow at least one hour in the refrigerator for the layers to set and flavors to meld properly before serving.